The secret to any successful project implementation is good planning. Knitting a sweater (or any other garment) is very much the same. Unfortunately, it took me years of knitting before I realized this, and as a result, my first few sweaters could have been made a lot better. I’m not lamenting the past, just reflecting on the fact that had I had someone telling me certain things, well, I would definitely have more sweaters that I would be proud of wearing. So it is with this thought in mind that I write this post, and hopefully some of what I say will ring true with you and you’ll get some value from it.
If you’re making a sweater that’s done in pieces to be sewn together after you block (see last post on the importance of washing and blocking), you’ll want to put a selvage edge on the edges of the pieces that will be left open and/or seamed. On open edges (as in a cardigan or shawl/wrap), I find a slip stitch selvage edge works really well. If I have to seam the edges together later, I like a stocking stitch selvage edge, for ease of sewing. You need to also consider the texture of the fabric at the edge. If the open edge is done in garter stitch or seed stitch, I find doing a garter stitch selvage edge looks really nice.
Since I’m doing a cardigan for the 30 day sweater challenge, there are a few of these options that I need to consider. If I were doing it in the round and steeking it, my options would be limited, and I would be dealing with my edges after I cut the fabric. I’m actually going to be doing mine flat however, because I want to incorporate a cabled button band on one of the edges, that flows in the same direction as the fabric, rather than picking up stitches and knitting a band later on. That requires some special consideration and a little tweaking of the pattern template. I’ll still be knitting it top down, and raglan style.
Speaking of buttons, I did manage to get to Button Button to pick up some for the cardigan. It’s a good thing I decided on choosing my buttons before hand too, as it provided me with some challenges, some more choices, and opened up my options. If you saw the pilot episode of It Takes Balls To Knit … The Show, you saw a great feature on the cool button shop I just mentioned. In it Colleen gave me a great tip on what to do if I couldn’t choose between 2 buttons. This is the dilemma I face, and the solution is shown in the video. As you can see from the pictures below, I found2 really great buttons, and have no doubt I would have found more if I hadn’t stopped looking!
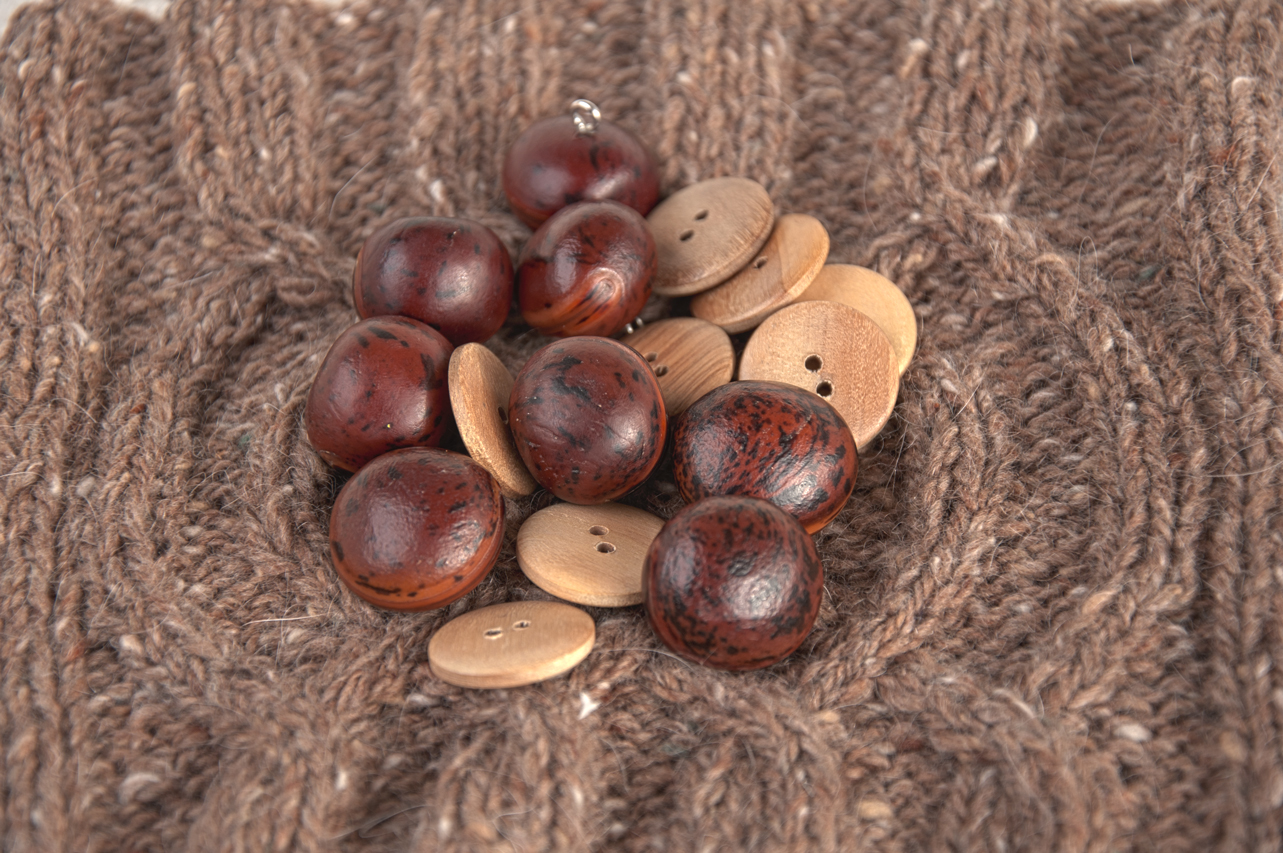
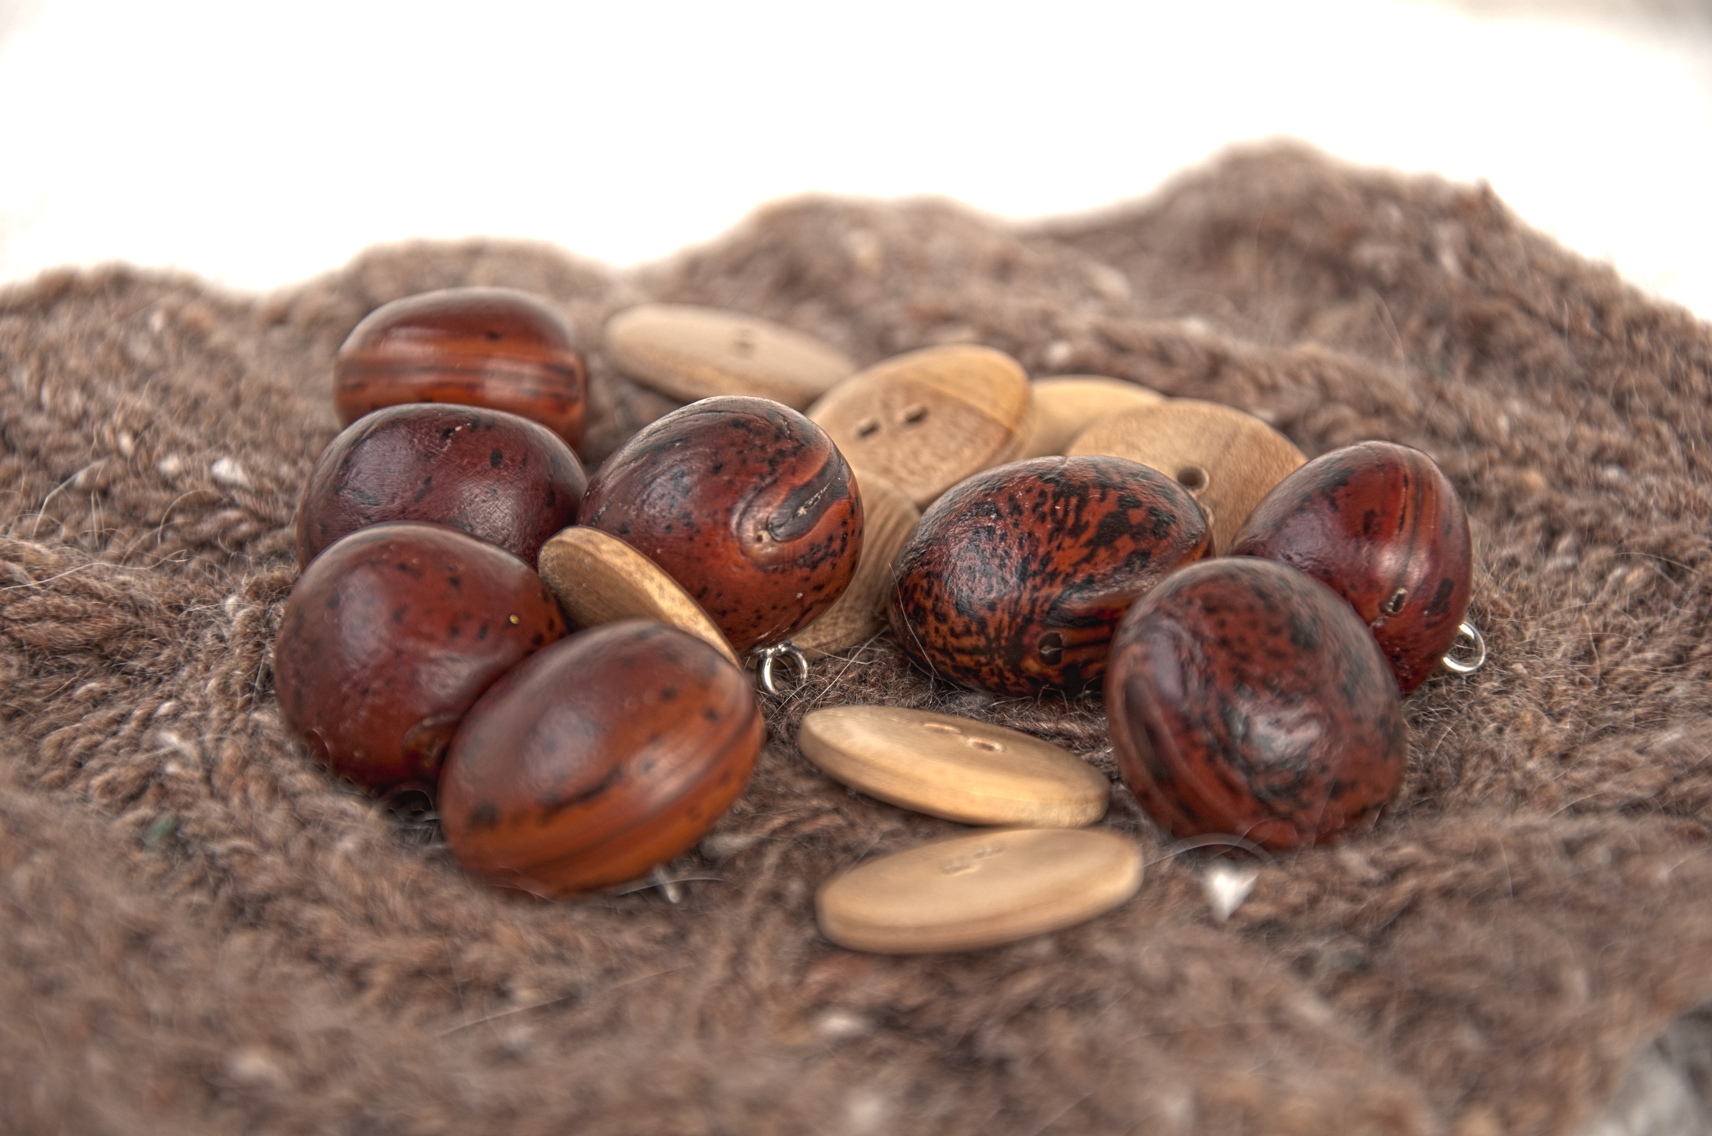
I actually have 2 options on what to do with these buttons, and I haven’t decided what to do yet. My first thought was to find a great button and use another as a backing, primarily because I want the button band with the button to lay on top of the band with the holes (I’m planning on putting the buttons on top of the cabled button band and I don’t want to hide that). The first buttons I found were the round, chestnut colored ones, and I thought they were perfect. They’re actually nuts from a tree in Brazil! Something told me though, that I didn’t want to use just clear plastic buttons for a backing button (the ones that actually button into the holes). The problem I had at this point though, was that I found some natural wood buttons that worked great as well. Yes, I actually prefer the nuts as a primary button, but using the tip Colleen gave me I can actually use both!
The other important part of choosing my buttons first is I know how many buttonholes I have to make, and most importantly, what SIZE! There’s nothing more frustrating than finding a perfect button to match your yarn and pattern after you’ve knit something and realizing it’s the wrong size! So now that I’m set with some of my finishing details, I can cast on and get this cardigan knitted! I’ll give you updates along the way, and hopefully you’re knitting along with me in this 30 day sweater challenge. There’s still time for you to do so – go to this link and get started! 30 Day Sweater Challenge
Hugzzz 😎