The Sunday knitting groups that I help teach were recently doing a session on the mistake rib. I love this rib … mostly. It’s very elastic, and very simple to make. Unfortunately when I first did it, I didn’t realize how much it would stretch vertically. As a result, the raglan sleeved sweater that I made using the precisely measured gauge swatch was a little big – even for me! Lesson learned – not all ribs are alike. Yes, this rib is reversible and it rib does stretch horizontally very well, like most ribs, but it also has quite a bit of vertical stretch to it. Here’s a picture of the mistake rib …
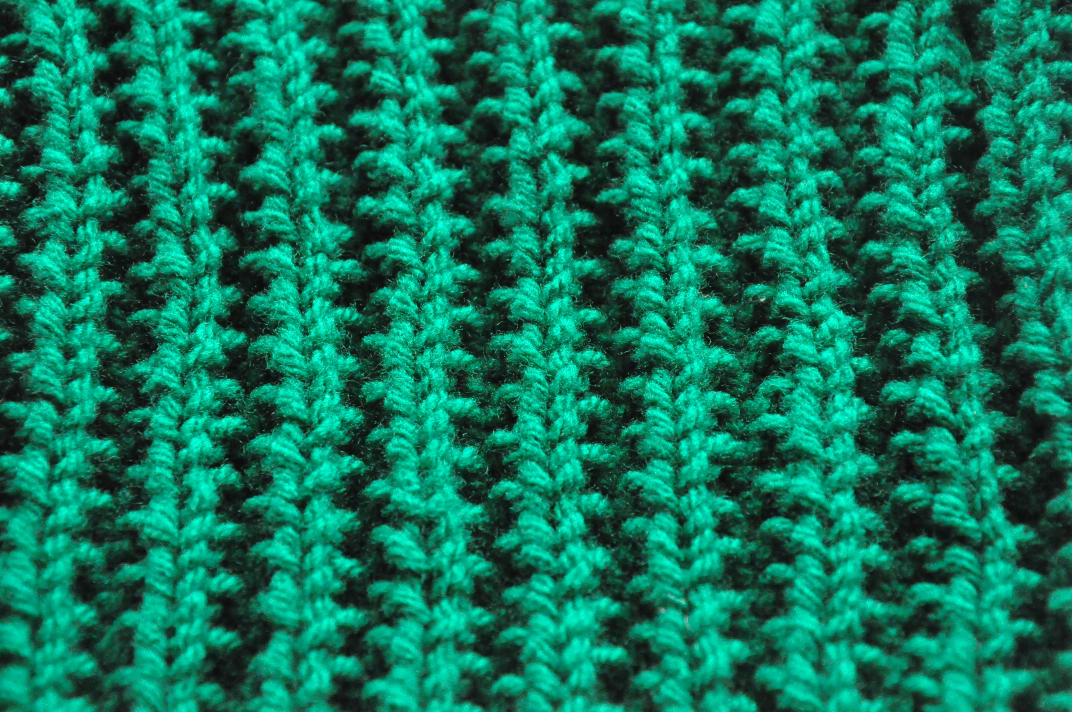
As you can see, it is a repeat of the following rows (or columns) – Stocking stitch, garter stitch, reverse stocking stitch, and garter stitch (offset by one row to the previous column). Understanding the columns can help in making the swatch if you forget the pattern.
Ah, yes, the pattern …
For some reason, this pattern confuses a lot of people. In reality, it’s really just a 2×2 rib that’s offset by one column each row. The resulting laws of knitting (knits are purls on the other side), create the array of columns that you get from this rib. I imagine that this is how it got it’s name as well. Someone was doing a 2×2 rib, wasn’t quite paying attention, and went off by one row. They went back in the following row and didn’t realize the “mistake” until later.
Anyway, the pattern can be written in a few different ways. I’ve seen it represented as a 4 stitch repeat +3, and a 4 stitch repeat +1. I’ll write it out in the simplest way I know here …
Using a multiple of 4 stitches …
Row 1 *k2, p2 repeat from * to end
Row 2 k1*p2, k2 repeat from * to last stitch, k1
Repeat these two rows for the mistake rib stitch shown above.
If you’d like to have a rib that’s very similar to the mistake rib, yet not quite as vertically elastic, here’s a slight variation you can use. This time you’re working with a multiple of 4 stitches + 3 …
Row 1 k3, *slip 1 pw, K3 repeat from * to end
Row 2 k1, *slip1 pw, k3 repeat from * to last 2 stitches, sl1pw, k1
Repeat these two rows … and here’s what you’ll get
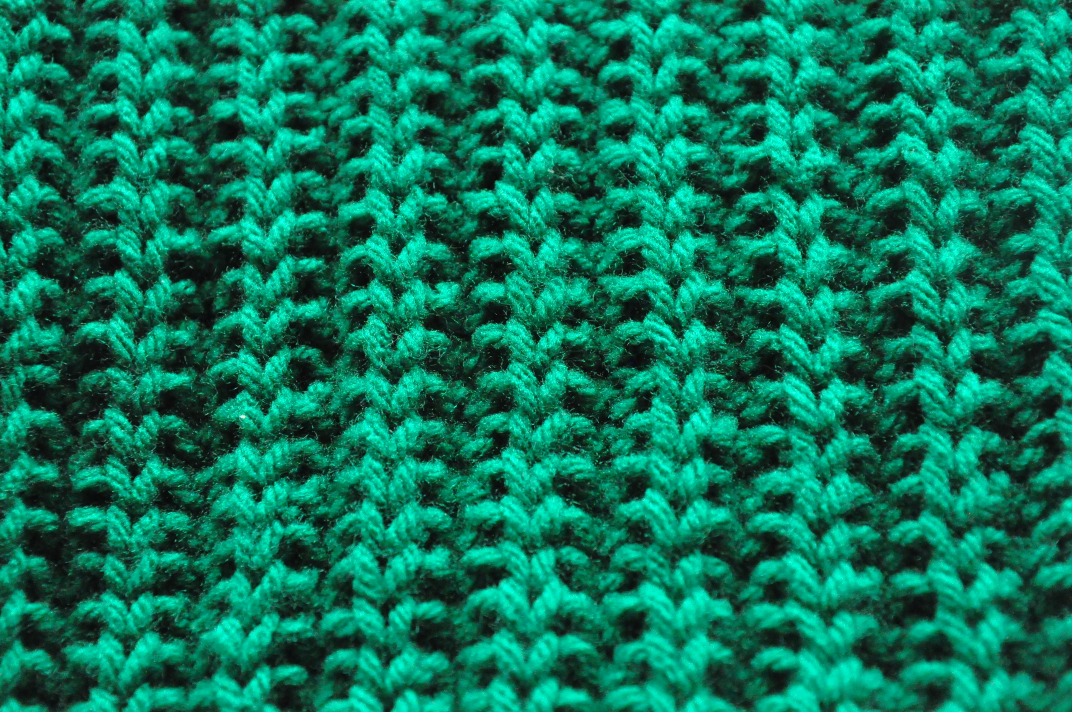
At first it looks like the mistake rib, but you’ll notice that the stocking stitch row appears “longer” … that’s because slipping the stitch works the knit stitch over 2 rows, giving it that stretched appearance.also, the garter stitch columns on either side of it are lined up. This rib is just as horizontally elastic as the first, but much firmer vertically. It might be a more preferabe rib if you were doing a larger garment, such as a sweater. Here’s a picture of the two side by side …

The mistake rib is the first half of the swatch and the slipped stitch mistake rib is the second (right) half …
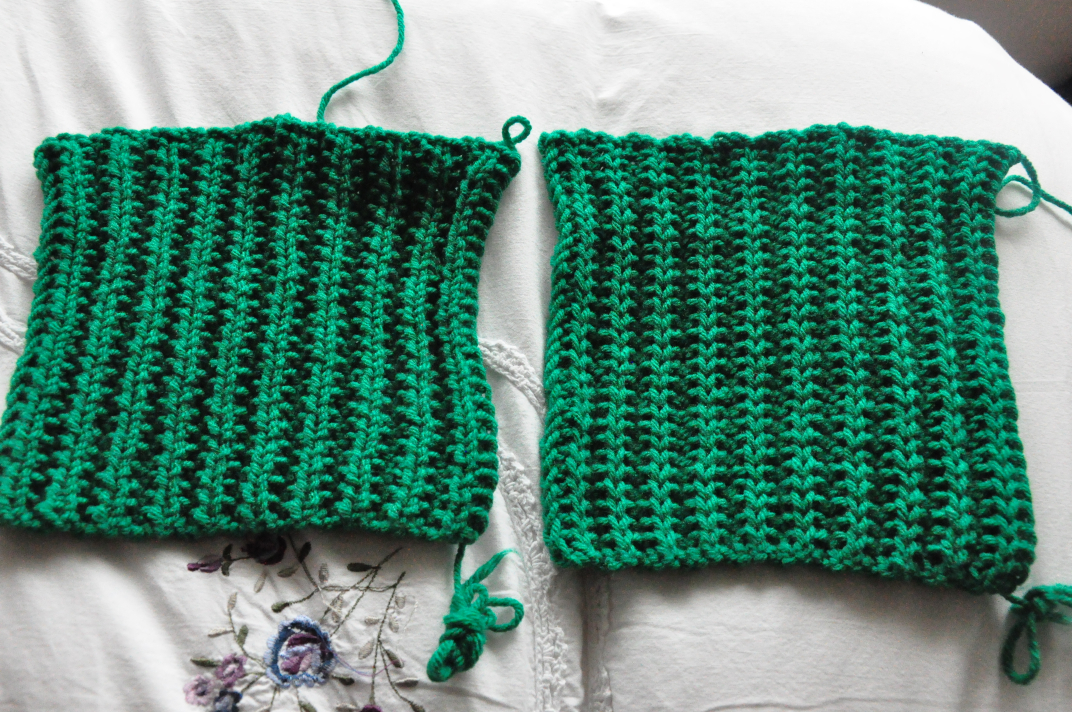
Since the overall appearance is quite similar, determining which one to use would depend on the exact characteristics you desire from he finished piece.
Hugzzz 😎