Well, the world watched as the Olympic torch was lit right here in Vancouver to kick off the start of the 2010 Winter Olympics. It also marked the start of the 2010 Knitting Olympics. There are quite a few bloggers online that are hosting some sort of knitting Olympics, including yours truly. If you didn’t get all the details on what I’m doing, you should read yesterday’s post. In a nutshell, if you’re participating, you should have cast on a project that is a personal challenge to you in hopes of completing it by the end of the Olympics. I had some slight variations to the rules in accordance with the Paralympic games in March. So with that in mind, I decided to kit a Norwegian styled sweater in the colors of my home country – Jamaica. The only problem is I don’t have matching yarn of the right weight in the colors I need – yellow, green, and black. No problem – time to dye!
I’m documenting the process and showing you exactly what I did in case you want to delve into the world of dyeing sometime in the future. Normally I wouldn’t recommend this as a first attempt at dyeing, but under the circumstances it seem appropriate – it’s making this project a huge personal challenge and allowing me to use yarn I already have in my stash rather than having to go out and buy more. I haven’t designed the sweater yet, but I am certain I want the main body to be green and yellow with black accents. I’ll work the Jamaican flag in there somewhere. So I decided to start by dyeing the green first to see how that works out.
There are lots of links online that will teach you how to dye – both with natural and acid or manufactured dyes. I have chosen to use Rit dye – it was the best choice I had at the store I went. You can use any you like or have access to. I couldn’t use natural dyes for this project because of the colors I needed. While squid ink would have produced the black I needed, I don’t have access to anything that would give me a Kelly green or sunshine yellow. I am following the instruction provided with the dye (they actually have a website with instructions – how times have changed) but read the ones with yours as they may vary. As far as I can tell from my research, the general process is the same. Prepare your dye bath, wet your yarn, soak it in the bath of very hot but not boiling water, and let it absorb the dye. Remove and squeeze out excess water and rinse lightly. Allow to dry and you’re done. Here are the pictures of the yellow in progress ….

The yarn dampened and waiting for its bath!

After the first bath ... I'd like it a little brighter so I'll try and simmer it ...

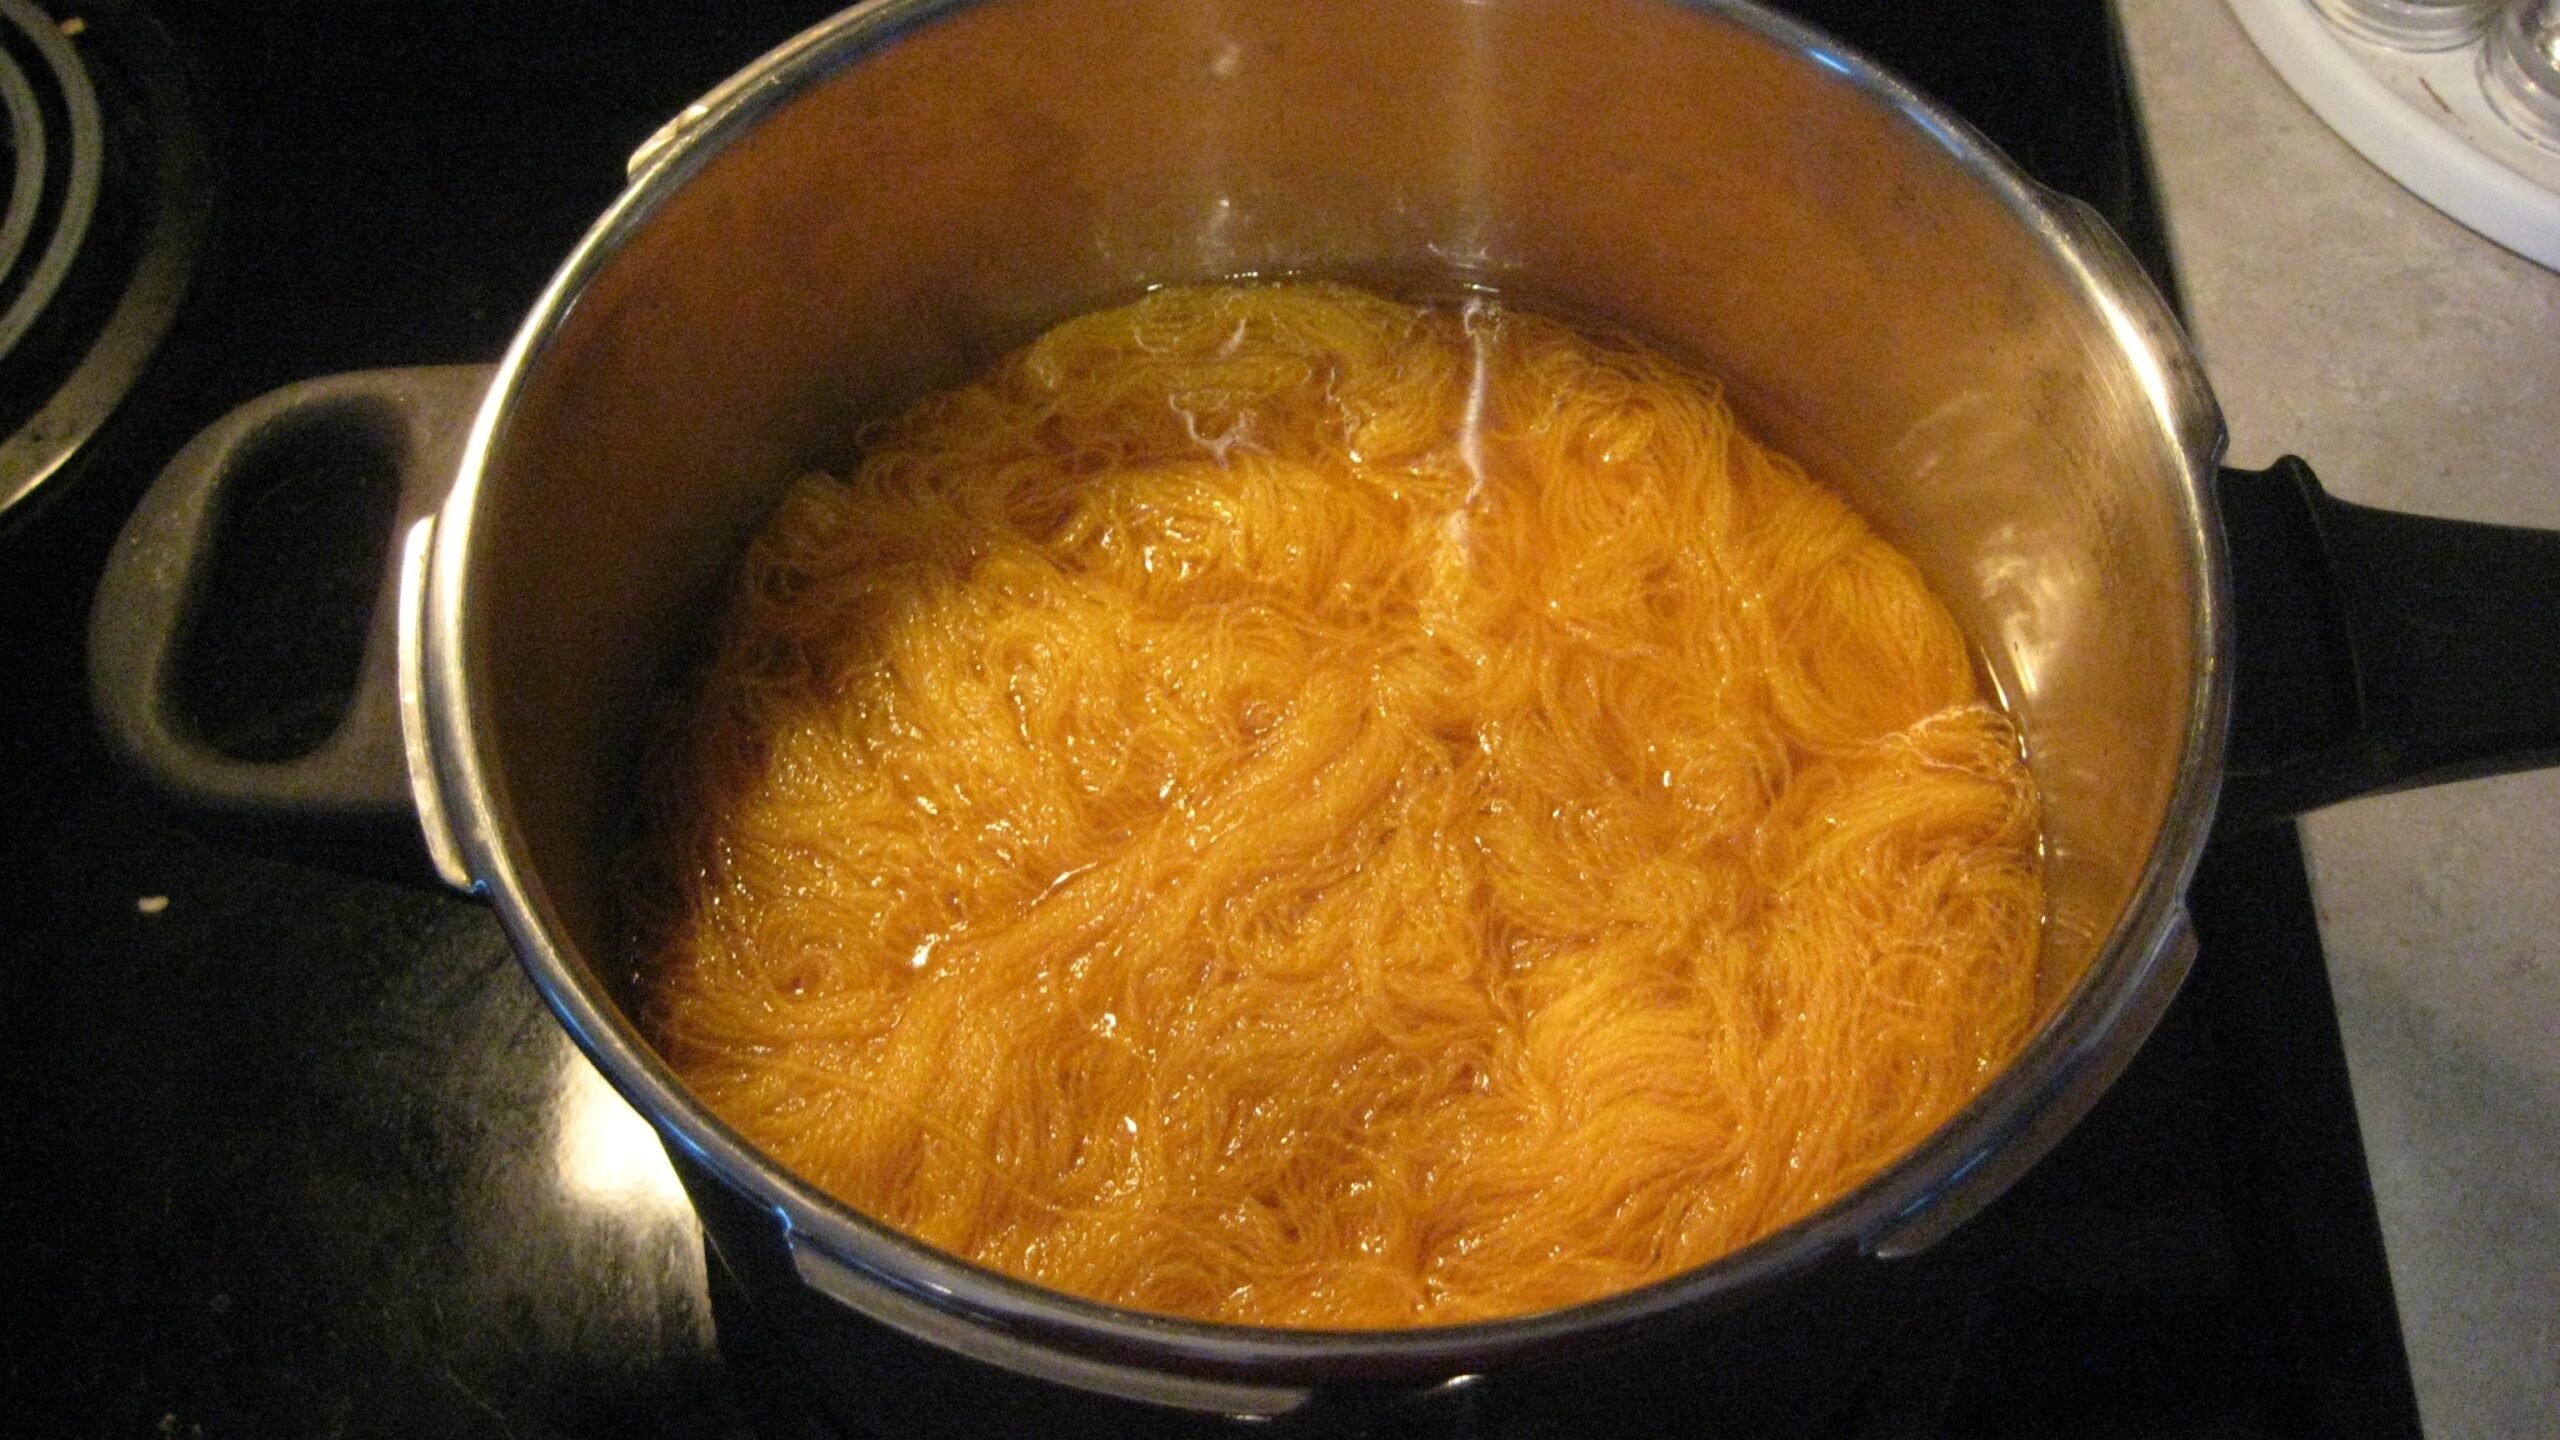
Simmering along ... this is the look I'm searching for ...
I still haven’t gotten the intensity I want out of the colors yet, so I’ll keep trying and post my results later today or tomorrow. I still have the green to do which I think will be the biggest challenge. Knocking on wood, I’m hoping the black is a snap. I’m also thinking about the overall design of the sweater and what I want it to look like.
Hugzzz 😎